Easter held new meaning for our family this year. As a child, I always loved the tradition of getting together with my cousins to wave the pretty branches on Palm Sunday then – in Pittsburgh – celebrating what was often the first warm Sunday of the season with a basket hunt and lots of chocolate. My grandfather would carve the ham he longed for all year, and I would try to eat some each year but never really liked it. And that’s what Easter meant to me.
It was far from a bad way to celebrate. I was surrounded my tradition, family, celebration and some sunshine. But, this year, as I dove more into the liturgical calendar and practices in our church, I realized there is just so much more to Easter.
Easter isn’t only about joy. It’s also an opportunity to get comfortable with our relationship with death and sadness. It’s a time to feel loss, grief and mourning, and a time to show our children that trials and tests are part of life.
By participating in the Stations of the Cross art show this year, I really took the time to feel the deeper meanings of the Easter story. For the first time, I came into a personal relationship with the story of Jesus’s death; it was personal because it became universal. I saw in this story the reality of my own position as a mother and steward of my children.
In observing the liturgical calendar, we abstained from celebratory Easter practices until Easter itself. No early egg hunts, no festive decorations, just a time of reading the Bible, questioning how we felt about the stories, and shedding some tears in the face of unjust death.
And tomorrow, for Easter Sunday, we will CELEBRATE!
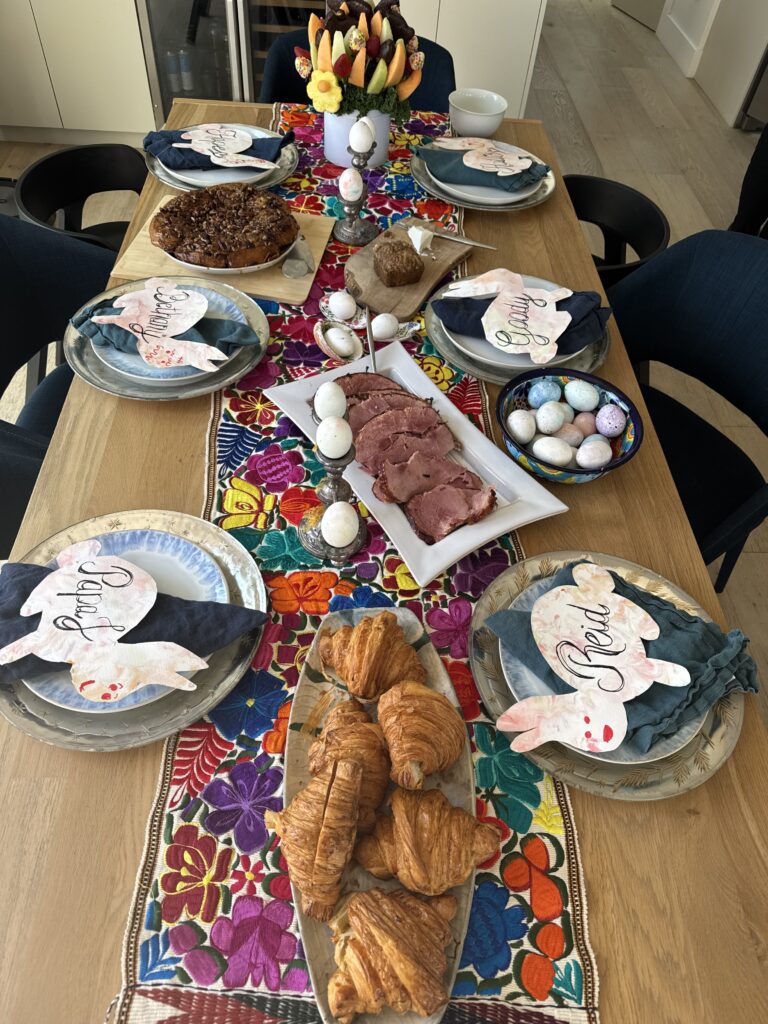
We prepared the home today. We thawed a ham, we made the cinnamon bun dough to give it time to rise before tomorrow, we bought the croissants (I still haven’t mastered that skill!), and we dyed the eggs. In fact, we dyed them three ways. We spent hours in the kitchen exploring each process, and the kids came and went as their interest led them.
Method 1: Baking Soda & Vinegar
This was my kids’ favorite one to do, and we thought it yielded the prettiest eggs.
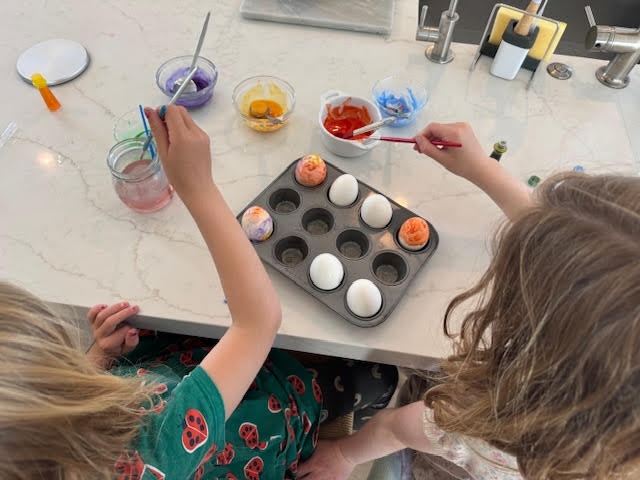
- mix a paste of 2 tablespoons baking soda and 1 teaspoon of water (more or less is fine! just let it be a paste and not a paint) in about 4-8 ramekins, depending on how many colors you want
- add 5-10 drops of food coloring to each ramekin until you get a saturated hue
- use paintbrushes to spread the paste on
- let the paste dry for 5 minutes to 5 hours. If you can be patient, you’ll get brighter colors.
- use pipettes to pipe a vinegar bath over your eggs, watch them fizz, and then rinse them to reveal the color
- you can layer over as many times as you’d like. My kids loved watching the fizz, so they did lots of layers.
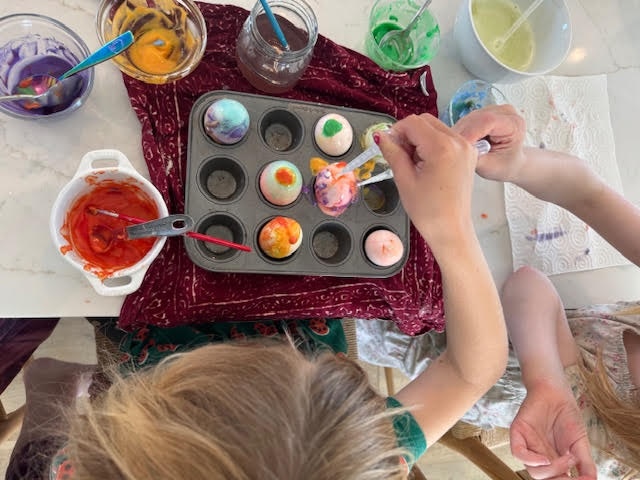
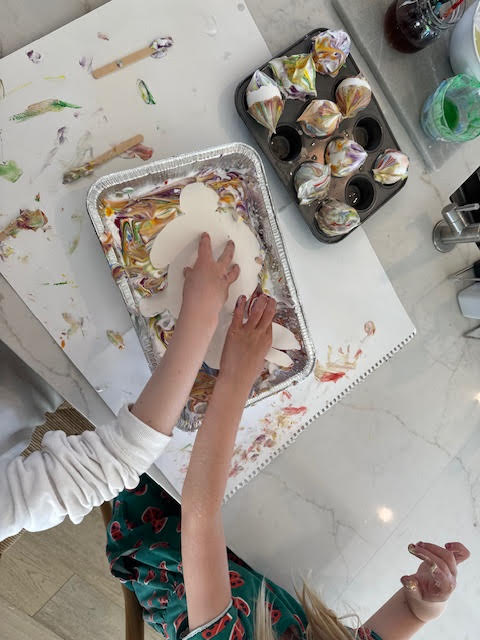
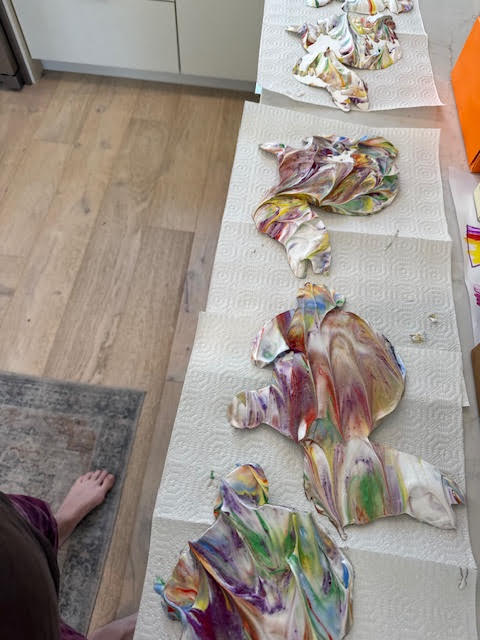
Method 2: Shaving Cream / Cool Whip Dyeing
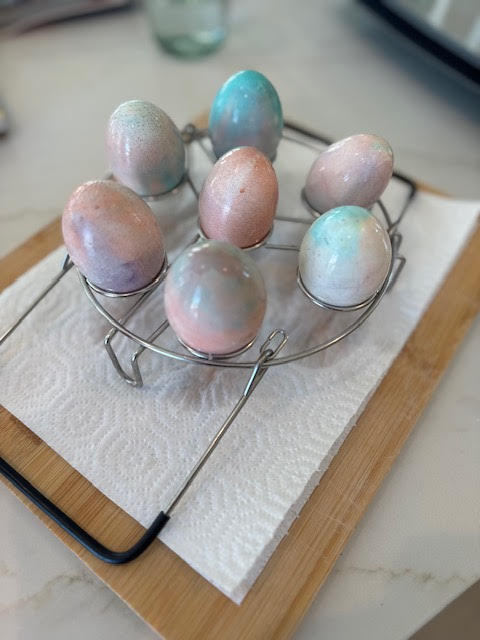
This was the most beautiful while we were working and the least effective in the end.
- squeeze a thin layer of shaving cream or spread a thin layer of Cool Whip in a baking pan as a base
- drip food coloring all over the base in any pattern you choose
- use toothpicks or popsicle sticks to marble the coloring around
- dip the eggs into the marbled dye
- allow the eggs to dry for 20 minutes to many hours *we left ours for 5+ hours, and the dye still wasn’t great! We did use natural dyes rather than chemical coloring, so that may make a difference*
- pat down the eggs or gently rinse with water
- if you used shaving cream, the eggs won’t be edible, but that’s what we happened to have in our craft cabinet
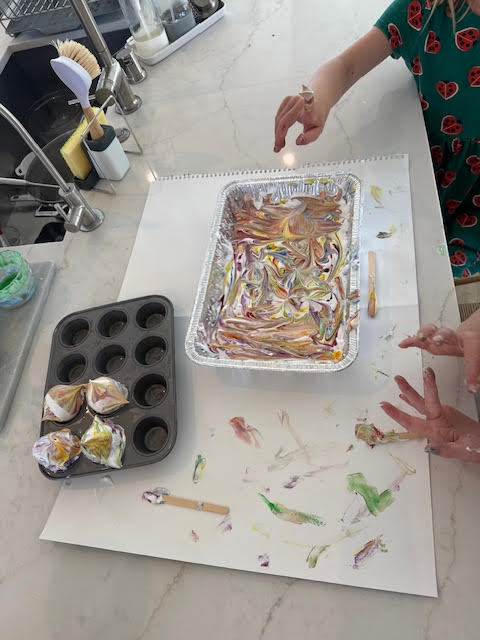
While the eggs didn’t turn out great this way, I did have the foresight to plan our nametags in this marble painting as well. We cut bunnies out of watercolor paper to marble paint. They added so much fun to our Easter table! I did some watercolor calligraphy for the names, and my daughter decided they also needed funny faces.
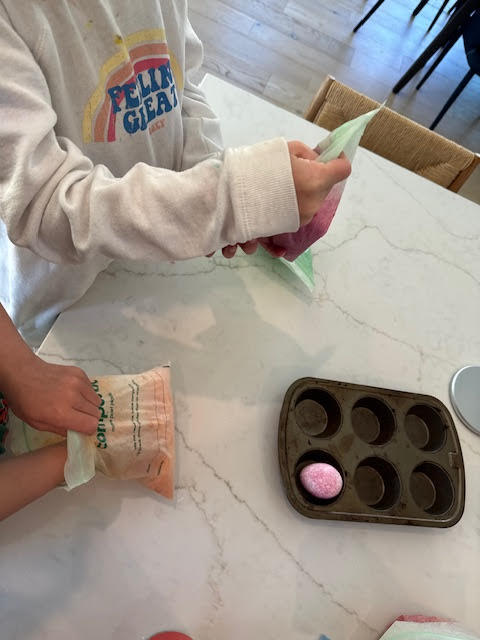
Method 3: Rice Dyeing
We used this technique last year while our eggs were still slightly warm. The coloring stuck and bled quite a bit last year, but they actually seemed to hold the color better than this year. This color will come off on your fingers as you peel these eggs 🙂 Just enjoy it while it lasts!
- scoop about 1 cup of dry rice into as many bags as you plan to use colors
- drop 20ish drops of food coloring, one color per bag, into each bag
- seal the bag and roll the rice around in the food coloring until it reaches a uniform color
- place an egg in the bag
- again, seal the bag and roll the rice around, but this time make sure it touches all over the egg
- we like to take the egg out and use it in a second color to make layers – these are the prettiest
What’s your favorite way to dye eggs? My sister gives a shout out to the Dollar Store vinegar dyeing kits, which is what I remember as a child, and that’s a great tradition many children will love. We had fun trying many different forms of process art for our dyeing this year. I wonder what we’ll try next year?